If you have a few head of cattle or a couple of horses and no pens, the first time you need to catch one will teach you why a corral matters. A basic corral does not have to be elaborate. It has to be in the right place, big enough and no bigger, built heavy, and laid out so animals go where you want them. Here is the plain advice we give on the estimate.
Put it where the animals already go
Near water and shade, where the herd gathers anyway, on ground that drains. Close to the barn or the road so a trailer can back in and turn around. Not in a low spot that turns to mud, and not in a corner of the pasture where every animal has to be driven across the place to reach it.
Size it for what you run
A holding pen needs room for the herd to stand without crowding and no more; a pen too big lets animals run and circle. A rough rule for cattle is a couple hundred square feet per cow-calf pair in a holding pen, much tighter in a crowding pen. Horses need more room per animal and rounded corners. We size it with you for the head count you actually keep, with room to grow a little.
Build it heavy
- Posts set deep in concrete on six- to eight-foot centers.
- Five to six feet tall for cattle; six for horses.
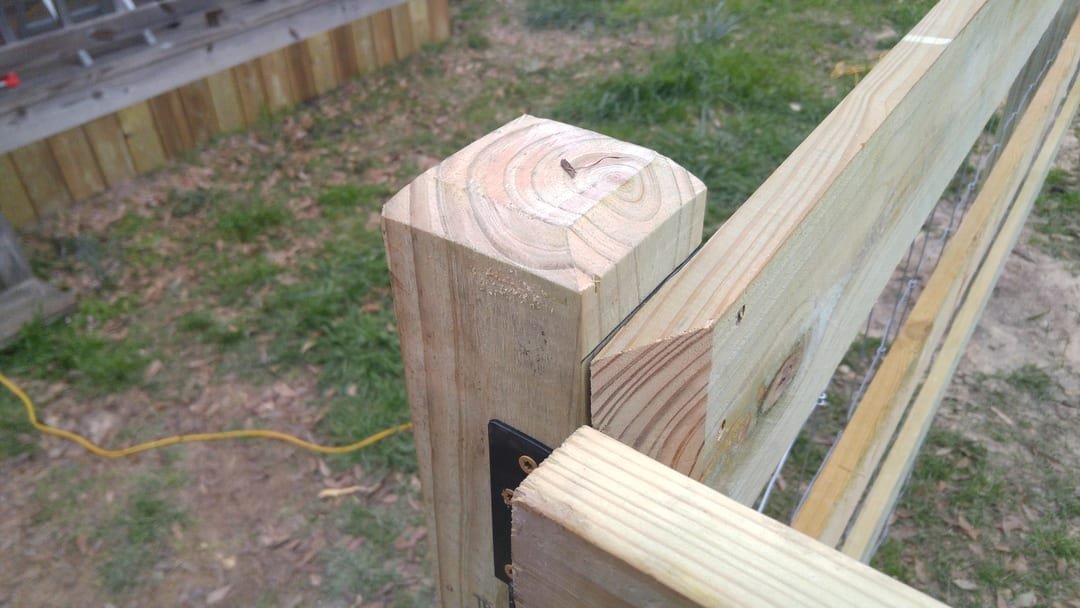
- Rails or panels on the inside of the posts, bolted or welded.
- No gaps a leg can go through, no sharp edges, no wire in a working pen.
See corral fence for materials and cattle panels for the fast, flexible first-corral option.
Gates: where you want them to go
Animals move toward open space, along a fence, and away from pressure. Put the gate from the pasture where the herd naturally approaches. Put the gate to the trailer or chute in a corner so animals funnel into it. Hang gates to swing with the flow and to close off a pen or open an alley with one motion. A gate that swings the wrong way makes one person's job a two-person job.
An alley and a chute, when you are ready
An alley is a narrow lane from the holding pen to a chute or a trailer, wide enough for one animal, with solid sides so they cannot see out. A chute is where the animal is held for doctoring. A basic corral can start as one pen and a gate to the trailer and add an alley and chute later; plan the space for them now so they fit.
What to skip
Barbed wire in a pen. Light wood gates. Square corners in a crowding pen. A pen with no shade. A layout nobody walked through with the cattle in mind. Corral best practices goes deeper, and corral fence or post and rail settles whether you need a corral at all.
Frequently asked questions
How many pens do I need?
For a few head, one holding pen with a gate to the pasture and a gate to the trailer is enough. Add a second pen when you need to sort, and an alley when you need to load or doctor regularly.
Where should the corral go?
Where the cattle already gather, near water and shade, on ground that drains, with room for a trailer to back in and turn around. Not in a low spot that holds water.
Wood, pipe or panels for a first corral?
Panels on pipe or wood posts are the fastest and most flexible first corral; pipe is the longest-lasting; heavy wood looks best. Many first corrals are panels that get upgraded to pipe at the chute later.